Reuse fabric bags!

Reuse fabric bags has never been easier and more fun
Discover always different ways to reuse purchased fabric bags. Out of respect for the environment and the noble raw material used, we would like to provide you with some ideas to have fun with your family by building nice and functional everyday objects!
This page is constantly updated, as well as our Facebook page, sign up to receive our news.
What you might need to reuse our bags:
- Scissors
- Glue stick or glue gun
- Office stapler
- But above all ... Lots of imagination and lots of bags to reuse!
For some items you may also need a stapler, but alternatively needle and thread will do just fine.
Fancy bookmark
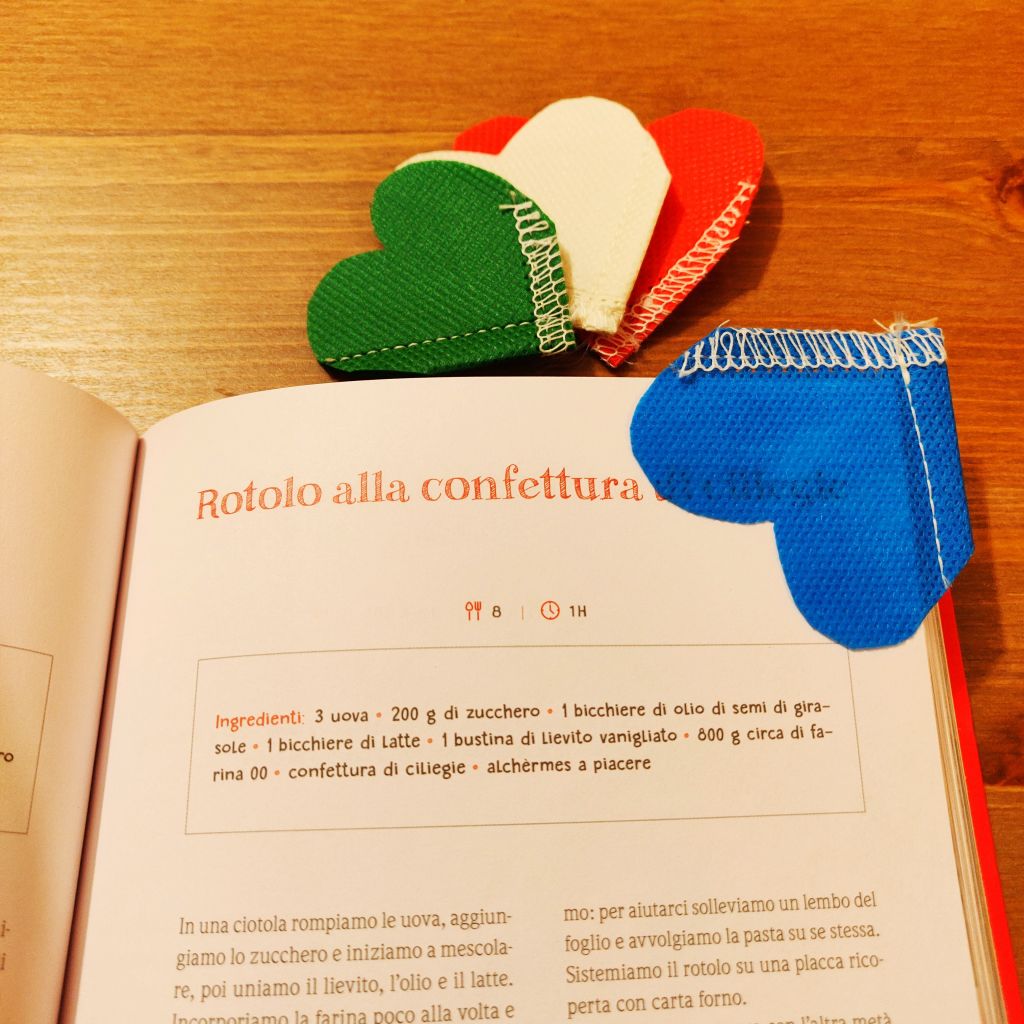
What you need:
- Scissors
How to make it:
- Carefully empty the contents of the bag
- Cut the bottom corners of the bag with the form at will
Additional Tips:
- The shapes can be many! A heart, a flower, a circle or much more.
Shabby - chic keychain
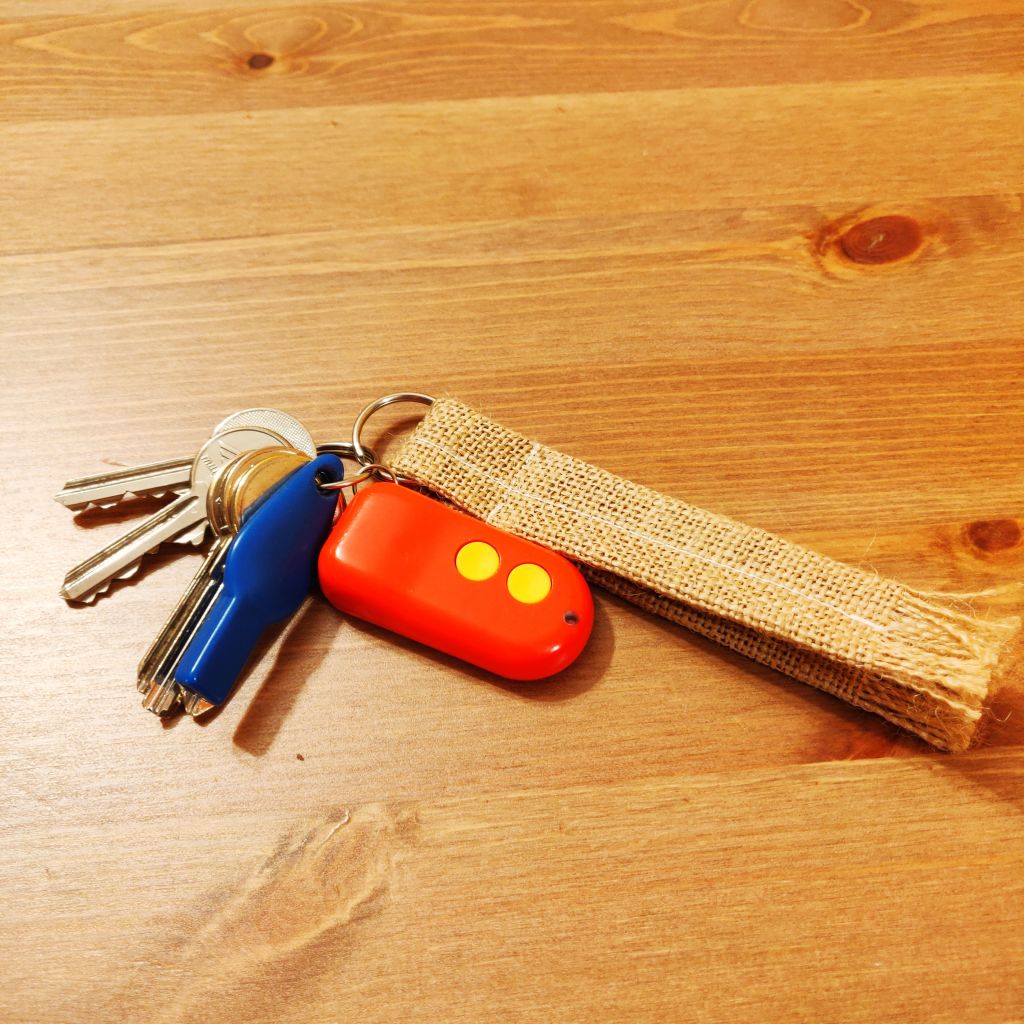
What you need:
- Scissors
- Stapler, alternatively office stapler
- Ring for key
How to make it:
- Carefully empty the contents of the bag
- With the scissors, cut a strip of fabric of rectangular shape to the size as you like. We recommend a minimum size of 4cm x 15cm.
- Cut out the strip of fabric, fold it on the long side, then fasten it with a seam or some stitch with office stapler
- Insert the strip obtained inside the key ring
- Fold the fabric around the key ring, then sew on the short side or use an office stapler
Additional Tips:
- Jute is ideal for this application! Remove a few threads from the ends of the fabric strip for an even more original effect.
Jar cover with flower fabric
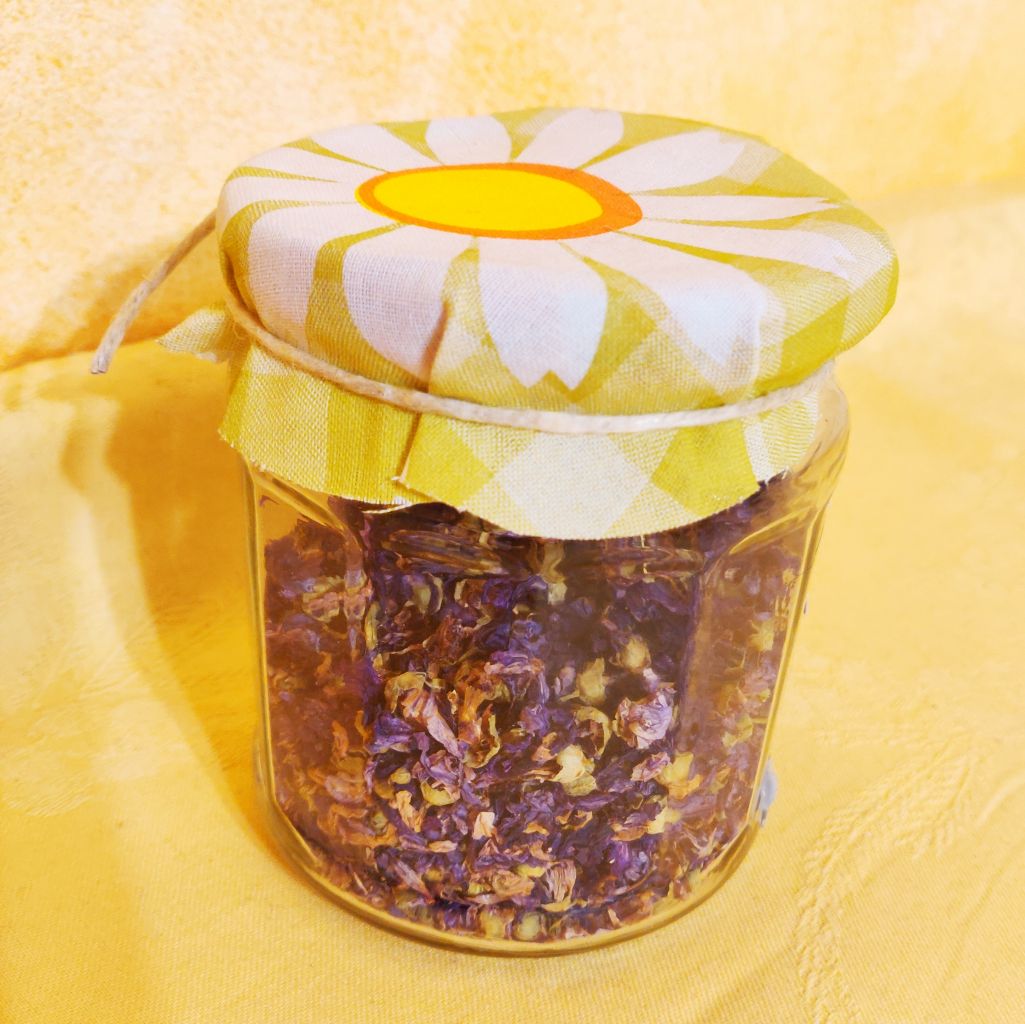
What you need:
- Scissors
- String
- Glue stick
How to make it:
- Carefully empty the contents of the bag
- Cut the side and bottom seams of the bag so that it can be fully opened
- On the unprinted side, place the jars and with a pencil mark the outline of each one
- With the scissors, cut out about 4 - 5 cm away from the mark made previously. In this way we will be able to wrap the cover completely around the jar
- For fasten the cover to the jar, you can apply glue around the top and side metal part, then place the fabric cutout on it. Alternatively, you can use a cord to wrap around the cap, together with the pot cover.
Additional Tips:
- Have fun cutting out many different shapes! You can create shapes with repeated rounds, use zigzag cut scissors for example.
SHARE YOUR PROJECTS!
The best works will be published on our page
Send an email by clicking on this link
Scented sachets for wardrobes
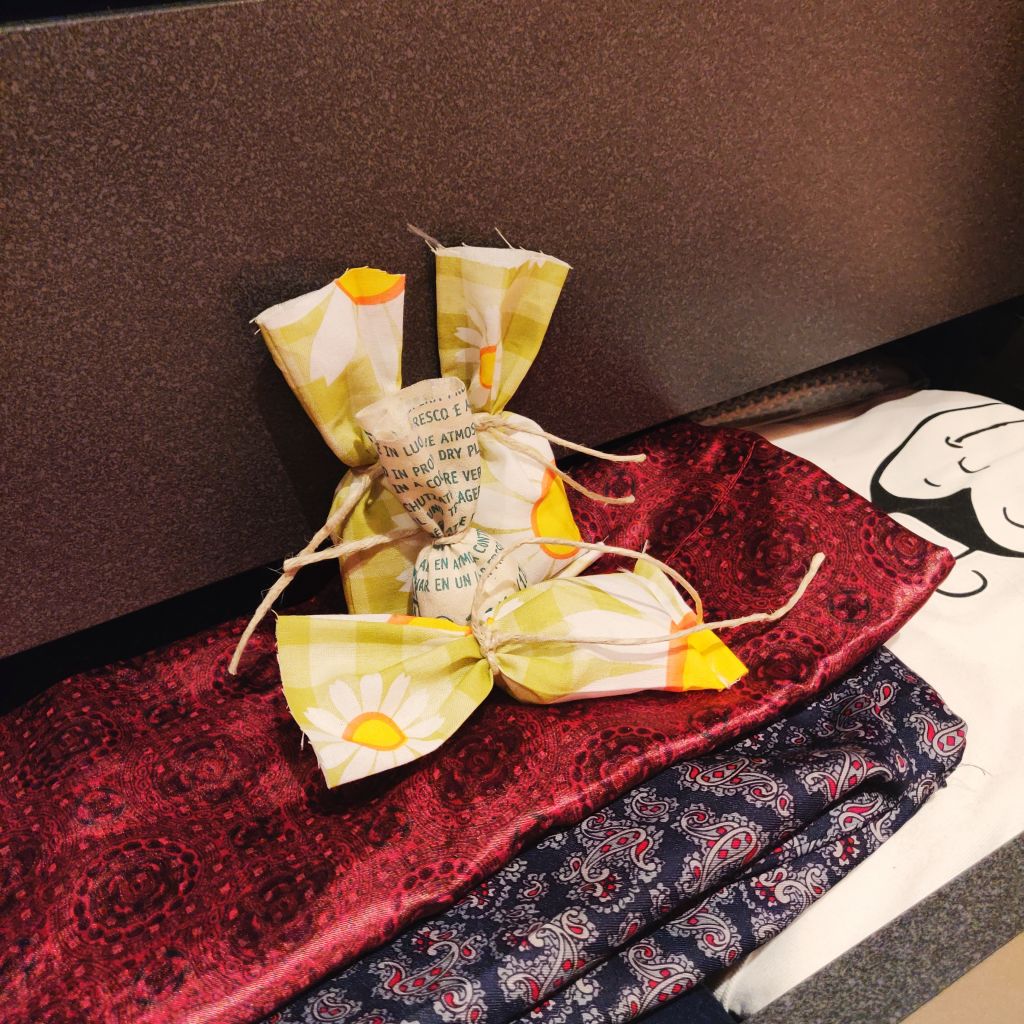
What you need:
- Scissors
- String
- Stapler, alternatively needle and thread or an office stapler
How to make it:
- Carefully empty the contents of the bag
- Cut the side and bottom seams of the bag so that it can be fully opened
- Cut out rectangles of fabric with dimensions of your choice. Recommended measures 10 x 10 cm to obtain a scented sachets for wardrobes from about 5 x 10 cm
- Once the rectangle of fabric is cut out, fold it up keeping the print internally
- Sew the bottom and lateral sides, or staple with a few stitches
- Reverse the print from the inside out, in this way the seams will no longer be visible;)
- Fill with lavender, fragrances or essences of your choice, then seal with a cord
Additional Tips:
- The ideal material for this job is our cotton! Natural and breathable.
Fabric candy holder
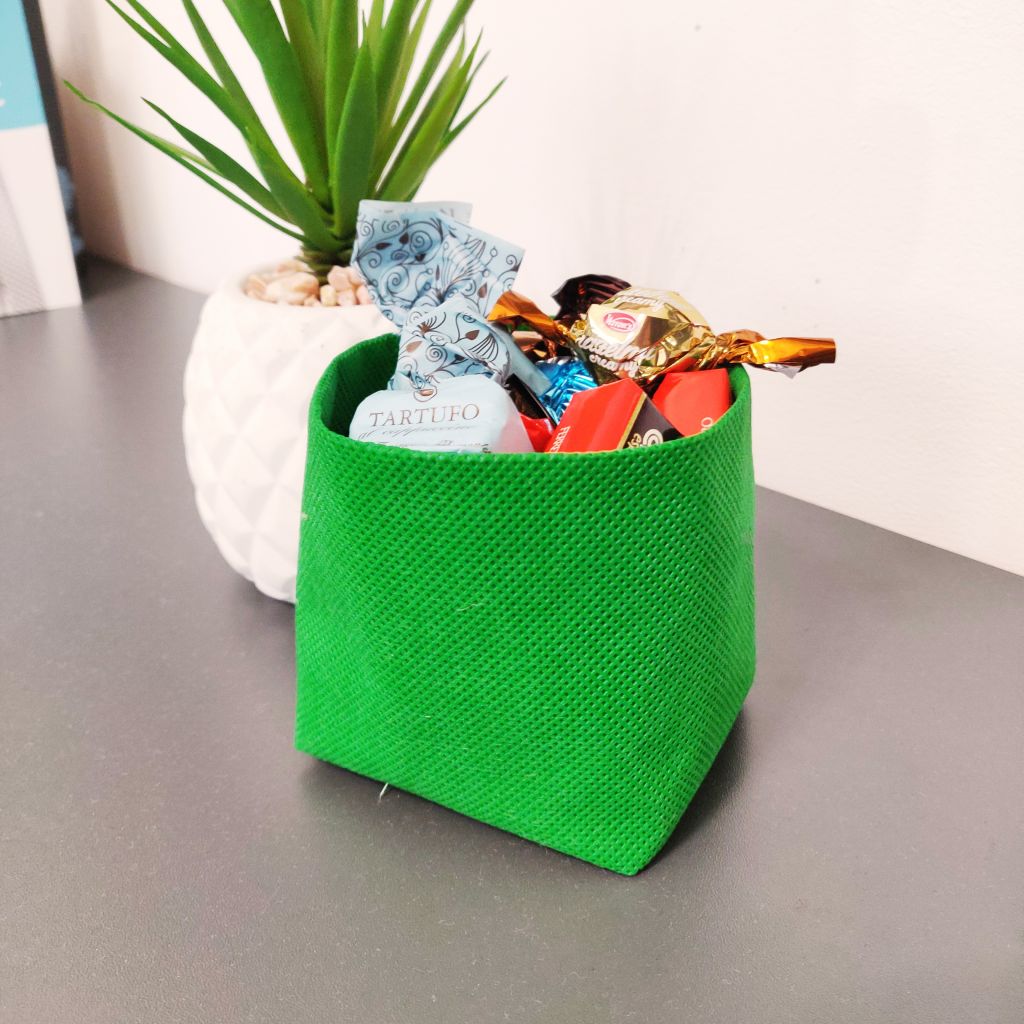
What you need:
- Scissors
- Stapler, alternatively needle and thread or an office stapler
How to make it:
- Carefully empty the contents of the bag
- Cut the side and bottom seams of the bag so that it can be fully opened
- Cut out a rectangle of any size you like. Recommended measures 25x20 to obtain an article similar to the one shown in the photo
- Fold the rectangle on the long side, then fasten it with a few staples
- Join the short sides of the rectangle to form a cylinder. Sew, or use a few stitches with an office stapler
- Place the cylinder on a part of the bag to be recycled, then mark the circumference of the cylinder obtained with a pencil
- Cut out slightly more large (1 cm will be sufficient) than marked
- Keep the folded side of the cylinder upwards, then join the circle obtained at the bottom by sewing it few stitches with an office stapler
- Reverse the seams from the outside to the inside for a more beautiful effect!
Additional Tips:
- Personalize your object holders even more by gluing small laces, flowers or colored patches!